
You
are here

Steps
-
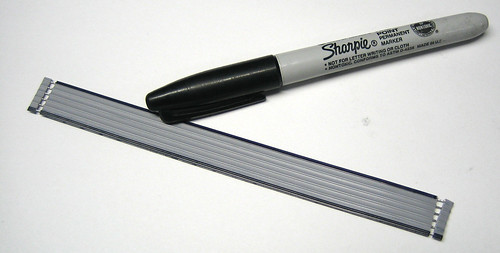
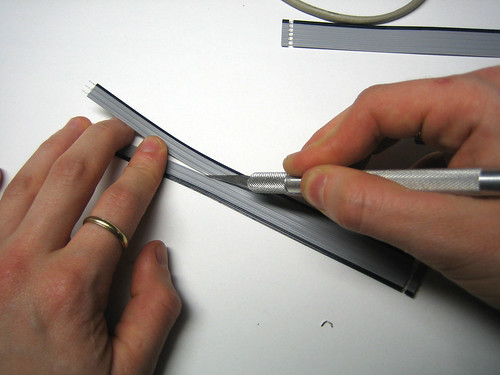
Split the 9 and/or 6 conductor jumpers. Make a black mark on the unmarked side of the jumper using a marker, the carefully cut down the center with a knife. Basically, end up with 4 pieces of 3 conductor jumper and 2 pieces of 6 conductor jumper.
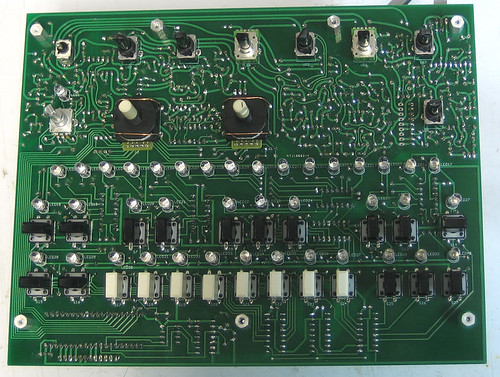
- Solder all of the jumper wires, desolder the 3 wires you put in for power earlier (or leave them in if they're pretty short.) Make sure to match up pin 1 of the jumpers with the black stripe on both ends.

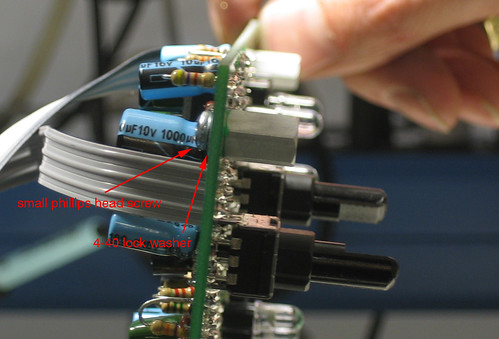
- Snap on the switchcaps. Attach the standoffs from below using
the phillips head machine screws and 4-40 lock washers. The shorter standoffs go in
the 4 corner holes.
- Finish assembly by attaching the mainboard to the frontplace
and the case with the hex button head screws. To keep from overtighting and cracking the panel, place the four 4-40 washers in the flanges and tack down with a little glue (just to keep them from shifting around while attaching the frontpanel to the PCB
- The back panel is attached by threading the 1/4" jacks through the panel
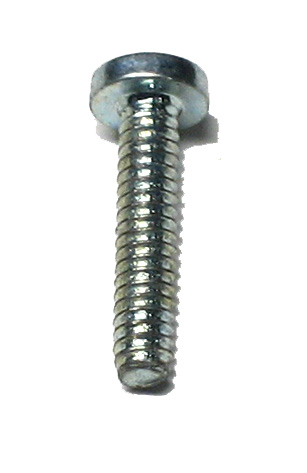
- Put the pot knobs on. Attach the rubber feet and screw the case together using the longer 4-40 screws.
- Turn on the synth and set it to keyboard or random mode to test the sound generation. Make sure you dont start it up into bootloader mode or the firmware wont boot. Now would be a good time to read the user manual.
Caring for your acrylic panels
Since run #5 we have been offering acrylic panelsets for showing off your kitwork to others. Acrylic is much more fragile than the aluminum panels and is more like to crack, shatter, scratch, etc. Here are some tips for making your acrylic case panels last longer and look good:
- Acrylic scratches very easily, but luckily its also very easy to clean! Just use acrylic buffing solution (Novus polish is the best known, and is available in a lot of hobby supply/art stores as well as online)
- Acrylic is brittle, so when you put the front screws on, dont torque down all the way: it will crack!
- The front panel helps support the board somewhat. If you normally press hard against the buttons/knobs, you will stress the panel and cause it to crack a little. So be a little gentle...
Parts
| ABS Case (PT-10) | 1 | |
| Set of main and I/O panels | 1 | |
 |
15/32" x 1/4" standoff | 3 |
|
3/8" x 1/4" standoff | 4 |
 |
4-40 lock washer | 7 |
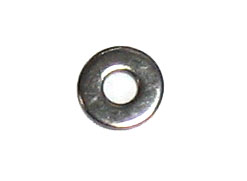 |
4-40 washer | 4 |
 |
4-40 x 1/4" hex button | 7 |
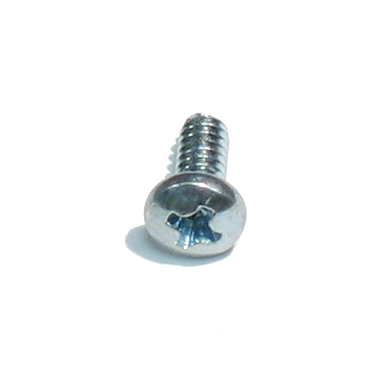 |
4-40 x 1/4" phillips button | 7 |
 |
4-40 x 1/4" phillips cheesehead (i swear its called that) | 4 |
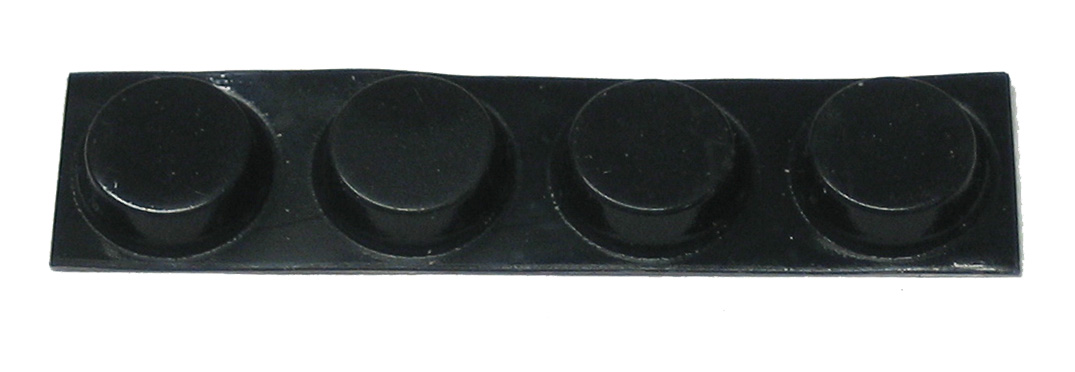 |
Rubber feet | 4 |
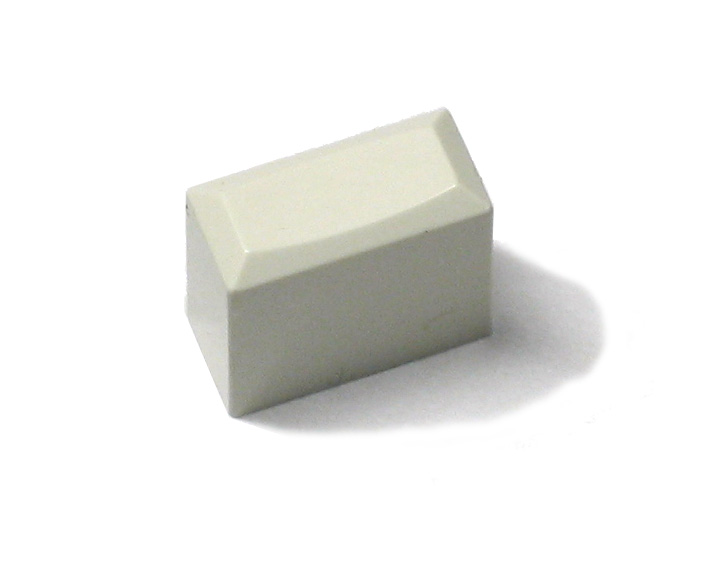 |
Switch cap (white) | 8 |
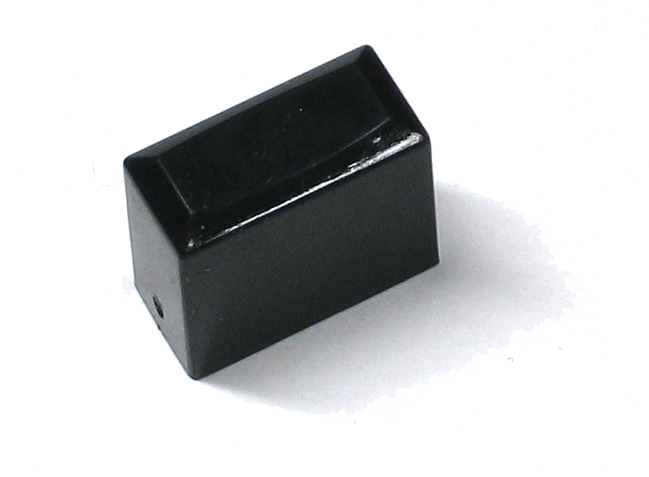 |
Switch cap (black) | 15 |
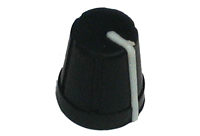 |
Potentiometer knob | 8 |
 |
Switch knob | 2 |
| 6 wire jumper ribbon cable | 4 |
May 17, 2011 20:07